In this tutorial, you will learn how to develop a simple Java Servlet
using Eclipse IDE. Before moving forward, make sure you have the
following pieces of software installed on your computer (clicking on the
hyperlink will let you download the corresponding software):
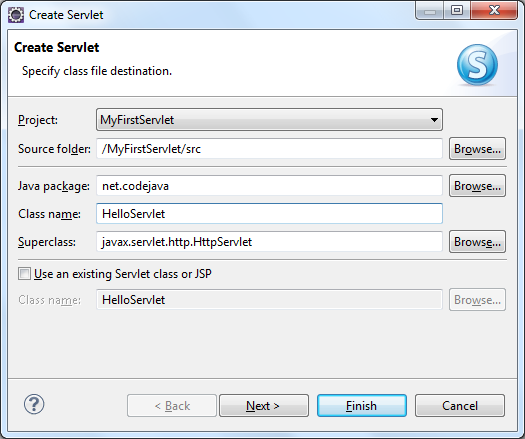 The servlet being created has fully qualified name as net.codejava.HelloServlet and extends HttpServlet class. Click Next to move on next screen where we can specify initialization parameters and URL mappings for the servlet:
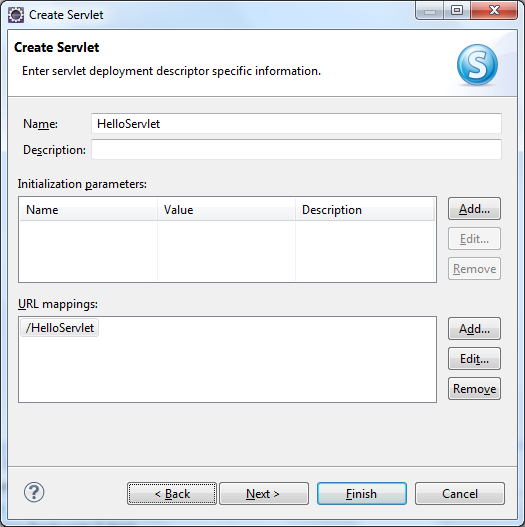 Leave this form as default. The URL mapping /HelloServlet means that this servlet will be accessible from this URL pattern: http://localhost:8080/MyFirstServlet/HelloServlet Click Next to move on next screen where we can specify which methods we want to inherit from the super class HttpServlet:
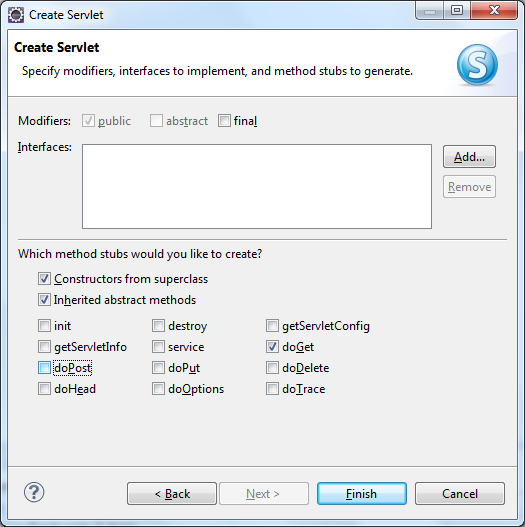 By default the two methods doGet() and doPost() are checked. Since we just query the servlet from a HTTP GET method, uncheck the doPost() method. Click Finish, Eclipse creates a Java class which has some skeleton code as below:
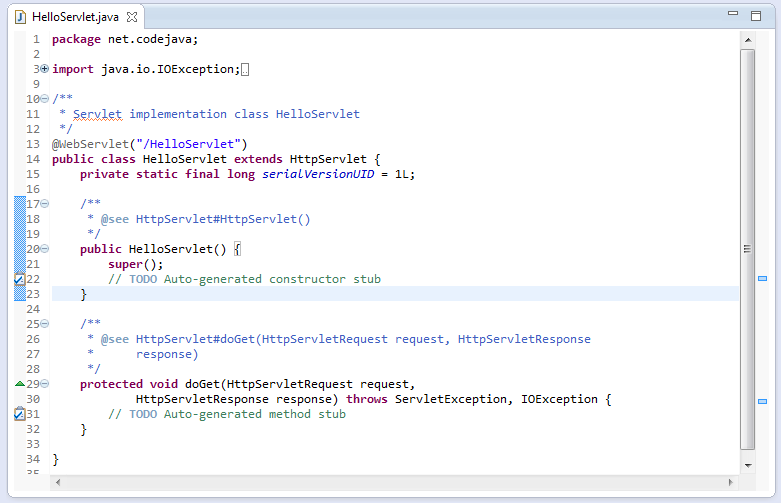
From this skeleton code, we can read out some interesting information as follow:
The doGet() method just simply sends a String “Hello friend!” to the client. And finally, we have the following structure in the Project Explorer view:
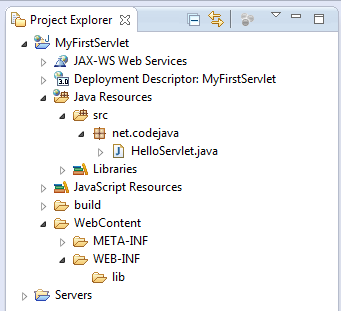 Note that there is no file web.xml is created because that file can be omitted when we are using annotation for Servlet 3.0.
 Click Next. In the Add and Remove screen, select MyFirstServlet on the left and click Add button to move it to the right, as shown in the following screenshot:
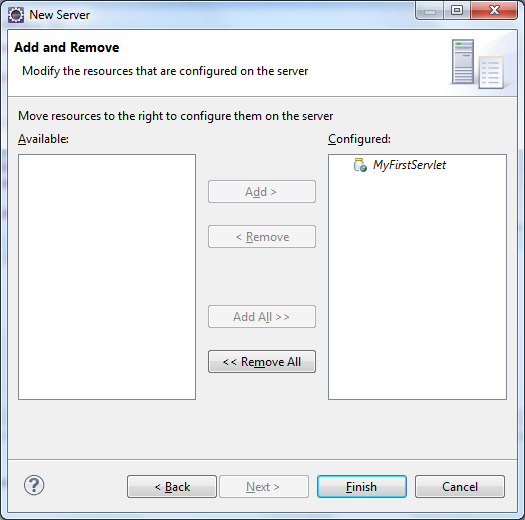 Click Finish, the MyFirstServlet application is now deployed on Tomcat server:
 Click Window > Show View > Other…. In the dialog Show View, type “Internal” in the text field then select Internal Web Browser underneath:
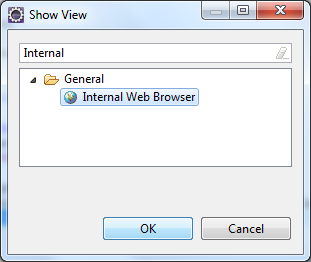 Click OK to open up the view Internal Web Browser.
Type the following URL into the address bar (the port number here may
be different than yours, depending on how you configured Tomcat): http://localhost:8080/MyFirstServlet/HelloServlet The servlet is invoked and we would see the text “Hello friend!” in the browser:
Click OK to open up the view Internal Web Browser.
Type the following URL into the address bar (the port number here may
be different than yours, depending on how you configured Tomcat): http://localhost:8080/MyFirstServlet/HelloServlet The servlet is invoked and we would see the text “Hello friend!” in the browser: 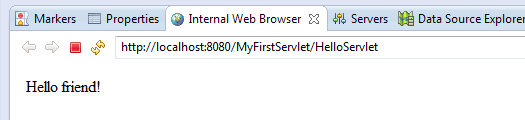 That’s all for this tutorial! We have learnt how to develop a simple servlet – a basic step in developing Java EE applications.
Table of Content:
1. Create Dynamic Web Project
2. Create Servlet class
3. Deploy the servlet
4. Run and test the servlet
1. Create Dynamic Web Project
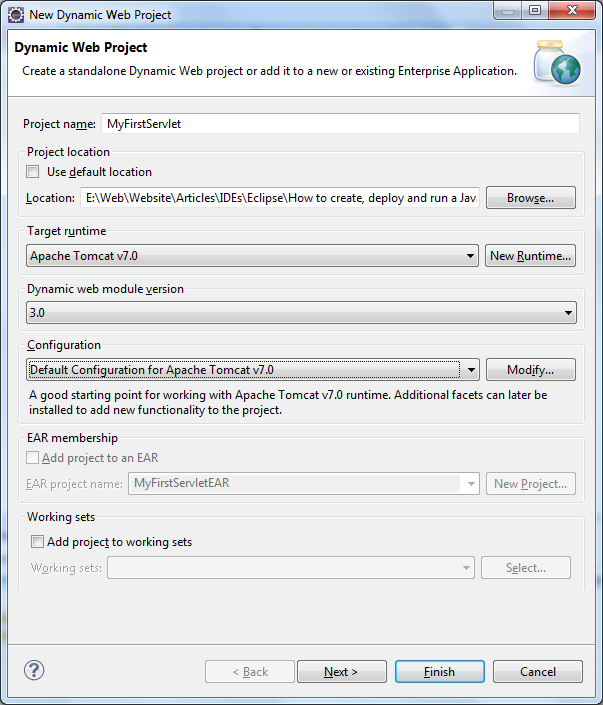
Servlet is for Java web application, so we need to create a Java EE project first. In Eclipse, make sure the current perspective is Java EE (if not, select Window > Open Perpsective > Java EE, or hold down Ctrl + F8 and select Java EE). Click File > New > Dynamic Web Project, the New Dynamic Web Project appears, enter the following information:
- Project name: MyFirstServlet
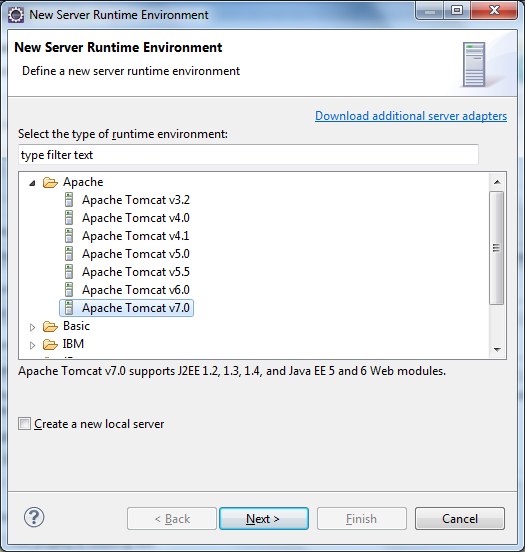
- Target runtime: Apache Tomcat v7.0. If Apache Tomcat v7.0 is not available in the dropdown list, click New Runtime button. The dialog New Server Runtime Environment appears, select Apache Tomcat v7.0:
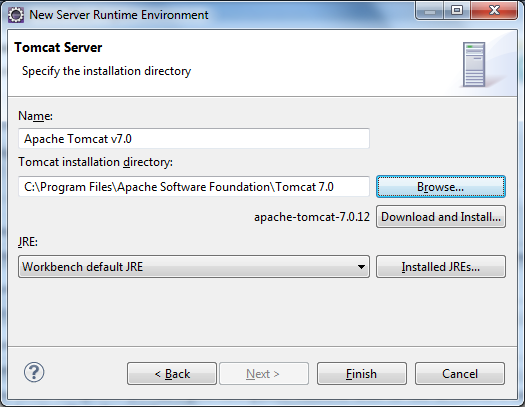
Click Next. In the next screen, click Browse button to select Tomcat installation directory:
Click Finish and Apache Tomcat v7.0 will be added to the dropdown list.
- Dynamic web module version: 3.0
- Configuration: Default Configuration for Apache Tomcat v7.0
The configuration we have chosen conforms to Servlet specification version 3.0.
Leave other stuff as default, click Finish. The MyFirstServlet project is created.
2. Create Servlet class
We will create a dead simple servlet class which sends the output “Hello friend!” to client. Click File > New > Servlet, the dialog Create Servlet appears. Enter the following information:
- Java package: net.codejava
- Class name: HelloServlet
From this skeleton code, we can read out some interesting information as follow:
- The annotation @WebServlet tells that the annotated class is a servlet. This annotation has been introduced since Servlet API 3.0. The URL mapping /HelloServlet is passed as a parameter of the annotation.
- HttpServlet class is the base class for all servlets that are serving client’s requests through HTTP.
- The doGet() method is overridden from the HttpServlet class, since we have chosen to override it in the dialog Create Servlet.
- The no-argument constructor HelloServlet() is generated to place initialization code. Since we don’t initialize anything, this constructor can be safely deleted.
Add the following line into the doGet() method:
response.getWriter().println("Hello friend!");
So far we have the following code of the servlet HelloServlet:
1
2
3
4
5
6
7
8
9
10
11
12
13
14
15
16
17
18
19
20
21
22
| package net.codejava;import java.io.IOException;import javax.servlet.ServletException;import javax.servlet.annotation.WebServlet;import javax.servlet.http.HttpServlet;import javax.servlet.http.HttpServletRequest;import javax.servlet.http.HttpServletResponse;/** * Servlet implementation class HelloServlet */@WebServlet("/HelloServlet")public class HelloServlet extends HttpServlet { private static final long serialVersionUID = 1L; protected void doGet(HttpServletRequest request, HttpServletResponse response) throws ServletException, IOException { response.getWriter().println("Hello friend!"); }} |
3. Deploy the Servlet
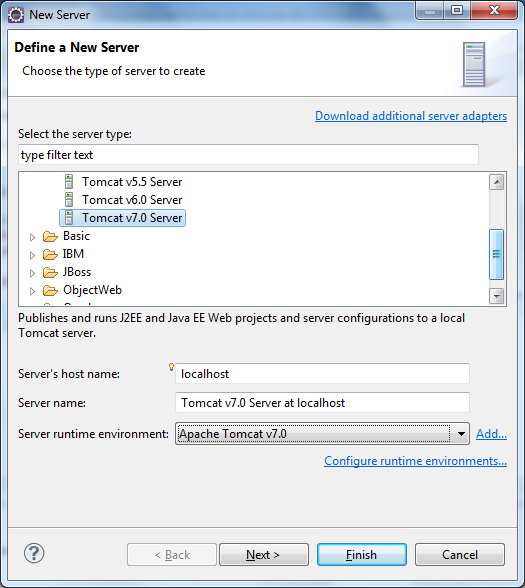
We will deploy the MyFirstServlet application on Tomcat server. Switch to the Servers view by selecting Window > Show View > Servers from Eclipse’s main menu. If there is no server available, click on the link new server wizard…The New Server dialog appears, select Tomcat v7.0 Server as shown in the following screenshot: 4. Run and test the servlet
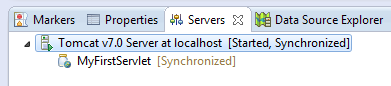
Now, it’s time to start the server and test the servlet. In the Servers view, right click on the server name, and select Start. You should see some output in the Console view, and the server’s status switches from Stopped to Started: That’s all for this tutorial! We have learnt how to develop a simple servlet – a basic step in developing Java EE applications.
No comments:
Post a Comment